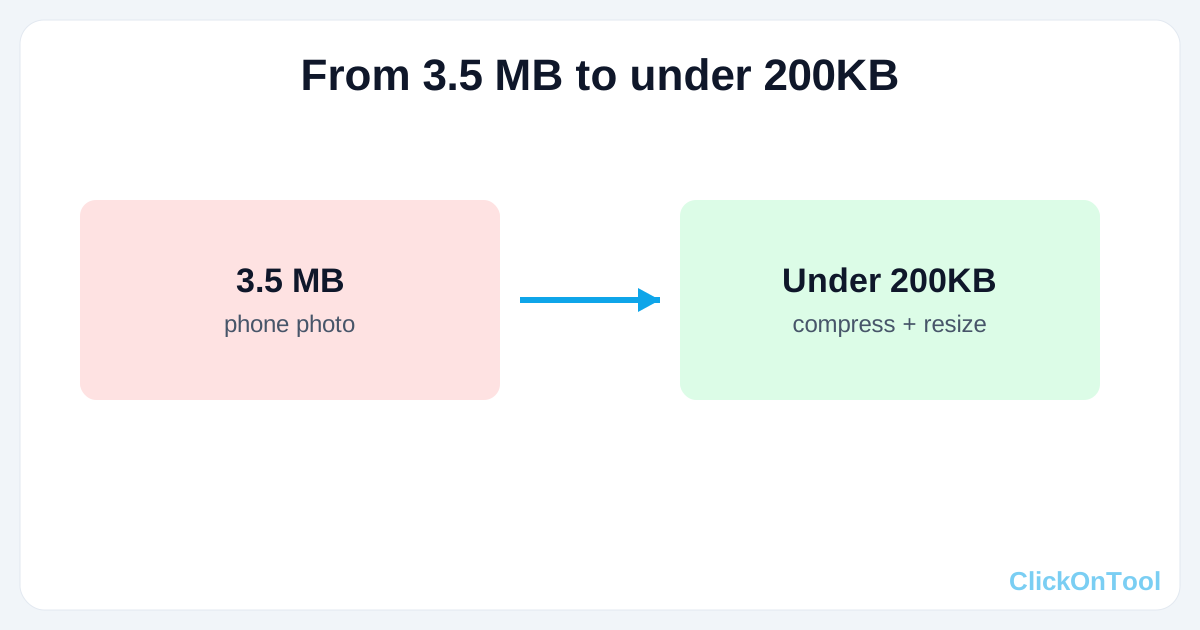
To use an image compressor to 200KB, open a browser-based compressor, upload your photo, set the quality to roughly 70 to 80 percent, and download the result. If the file is still above 200KB, reduce the pixel dimensions and compress again. Most JPG and PNG photos fall under the limit within two passes, and if you want a smaller target next, the same steps work for a 100KB version and a 50KB version.
The problem is that upload forms are strict. A job portal, an exam registration page or a visa application rejects your file with a message like "size must be less than 200KB", while a phone photo weighs 2 to 5 MB. Many online tools add to the frustration. They ask you to upload a passport photo or ID card to a stranger's server, demand a signup, or stamp a watermark on the result.
This guide walks you through four steps: check your file, compress it, resize it if needed, and verify the result. The steps work in any tool, and the examples use the free image tools on ClickOnTool, which process files inside your browser so they never leave your device.
Why 200KB is hard to hit and what controls file size
A 200KB limit means cutting a typical phone photo by 90 to 95 percent. Three things decide how big an image file is: its quality setting, its pixel dimensions and its format. Once you know how each one behaves, you can reach the limit with the smallest visible loss.
What 200KB means for your file
Most operating systems count 1KB as 1,024 bytes, so 200KB is about 204,800 bytes. Some upload forms count 1KB as 1,000 bytes, which puts the real limit at 200,000 bytes. Aim for 180 to 190KB so that either counting method accepts your file.
A 12-megapixel phone photo usually weighs between 3 and 5 MB. Getting it under 200KB is a big reduction, and quality settings alone rarely deliver it. That is why the steps below combine compression with resizing.
Aim for 190KB, not 200KB, because a file that is a few bytes over the limit gets rejected just as fast as one that is 2MB over.
The three levers that change file size
Each lever trades quality for size in a different way. Use them in this order: format first, then quality, then dimensions.
- Quality (compression level): how much detail JPG or WebP discards. The effect is large between 100% and 70%, and smaller below that. At 75 to 85% the loss is barely visible.
- Pixel dimensions: width and height in pixels. This has a very large effect, since halving both cuts pixels by 75%. There is no visible cost on screen if the image is shown small.
- Format: how the data is stored. The effect depends on the image type. Converting a photo from PNG to JPG loses transparency, but often removes most of the excess weight.
Step 1. Check your file and choose a format
Before compressing, note your file's current size, its dimensions and its format. This takes a minute and tells you whether compression alone will be enough or whether you also need to resize.
- On Windows, right-click the file and choose Properties, then open the Details tab. On a Mac, use Get Info. On a phone, open the photo in your gallery and look at the details panel. Write down the size and the width and height in pixels.
- Use this rule of thumb. A file under 1 MB can usually reach 200KB with compression alone. A file over 2 MB, or one wider than 3,000 pixels, will usually need both compression and resizing.
Keep the format the form asks for. If it accepts several, choose by image type. JPG works well for photos, portraits and scans. It compresses well and every portal accepts it. PNG suits logos, screenshots and flat graphics. A photo saved as PNG is often several times larger than the same photo as JPG, so convert photos to JPG first with the image converter. WebP gives smaller files at the same quality, but some government and exam portals still reject it. Use it only when the form allows it.
Convert photos saved as PNG to JPG before you compress, because that single change often removes most of the excess weight. If your PNG has a transparent background, converting to JPG fills it with a solid color, usually white, so check that this looks right before you submit.
Step 2. Compress the image in your browser
Open the image compressor, add your file, apply a moderate quality setting and download the result. This one pass is often all a small or medium image needs, and it takes under a minute.
- Open the image compressor page.
- Select your file from your device.
- Set the compression level to a moderate value. Start around 75 to 80 percent quality, not the lowest setting.
- Run the compression and download the output.
- Check the new file size in your file properties.
If the result is under 200KB and looks fine, you are done. If it is still too large, do not push quality down to 30 percent. Go to Step 3.
The photos that carry 200KB limits tend to be sensitive ones, such as passport photos, ID scans, signatures and certificates. ClickOnTool runs compression on your own device, so your file is never uploaded to a server. There is no account to create, no watermark on the output and no usage limit.
For IDs and passport photos, choose a compressor that works locally in your browser, because a file that never leaves your device cannot leak. Whatever tool you choose, check before you hand it a personal document: does it upload the file, does it ask for an email, does it add branding to the image? A free tool that does any of these costs you more than it saves.
Step 3. Resize the pixel dimensions if it is still too big
When compression alone leaves the file above 200KB, reduce its width and height. Pixel count has the strongest effect on file size, and a form that shows your photo at small size does not need 4,000 pixels of width.
- Start: original phone photo, about 3.5 MB, often 4000 x 3000 pixels.
- Pass 1: compress at 75 to 80% quality. Typical result: often 1 to 1.5 MB.
- Pass 2: resize to 1600 x 1200, then compress at 80%. Typical result: often 250 to 400KB.
- Pass 3: resize to 1200 x 900, then compress at 75 to 80%. Typical result: often 120 to 200KB.
Use the image resizer for the resize passes, and keep the aspect ratio locked so the photo does not stretch. Pictures with fine texture, such as foliage or crowds, stay larger than pictures with plain backgrounds. For those, go down one more size step.
Many portals set a minimum as well as a maximum, for example a minimum width in pixels or a minimum file size. Read the full instructions before you shrink. A signature box or a passport photo may also require exact dimensions, so set those in the resizer first and then compress.
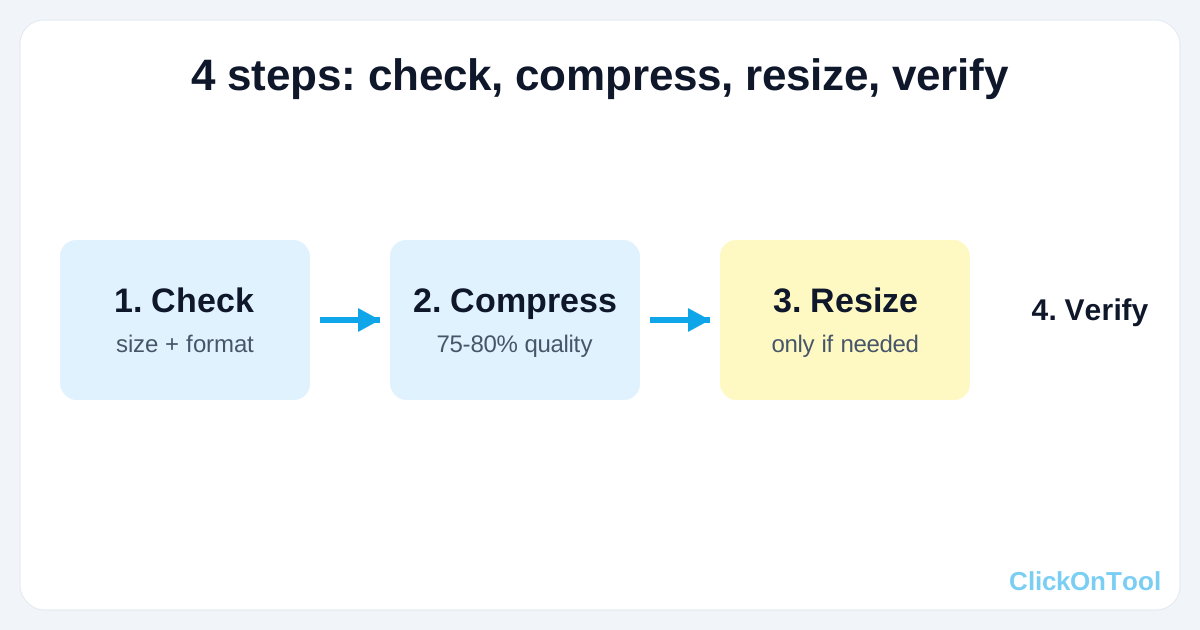
Reduce dimensions before you drop quality below 60 percent, because a smaller image at good quality looks better than a large image at poor quality.
Step 4. Check the size and quality before you submit
Confirm the final file is under 200KB and that the image still does its job. A quick check now saves you from a rejected upload and a second round of edits.
Open the file properties and read the size. If it shows 195KB, you are safe. If it shows 205KB, lower the quality by about 5 points and compress again, working from your original file, not from the already compressed copy. Compressing a JPG repeatedly stacks visible artifacts, so always start from the original.
Keep the original untouched. It is good practice with any tool to keep a backup of important files before processing.
Zoom to 100 percent and look at the parts that matter. For a portrait, check the eyes and the edges of the face. For a scan or certificate, check that small text is readable. For a signature, check that the strokes are still solid and not broken up. If you see blocky patches or fuzzy edges, the quality setting is too low. Raise it slightly and shrink the dimensions instead. If the image looks clean, upload it.
Judge the image at 100 percent zoom, because that is where compression damage shows first.
Getting your file under the limit
To get an image under 200KB, check the starting size, pick the right format, compress at a moderate quality, resize if the file is still heavy, and then verify the result against the original. Two passes handle most photos, and a third handles the stubborn ones. You can run all of it without signing up or uploading anything. Try the free image compressor on ClickOnTool, then use the resizer if you need a smaller size. When you need an even smaller file, the same method continues in our 100KB guide and our 50KB guide.